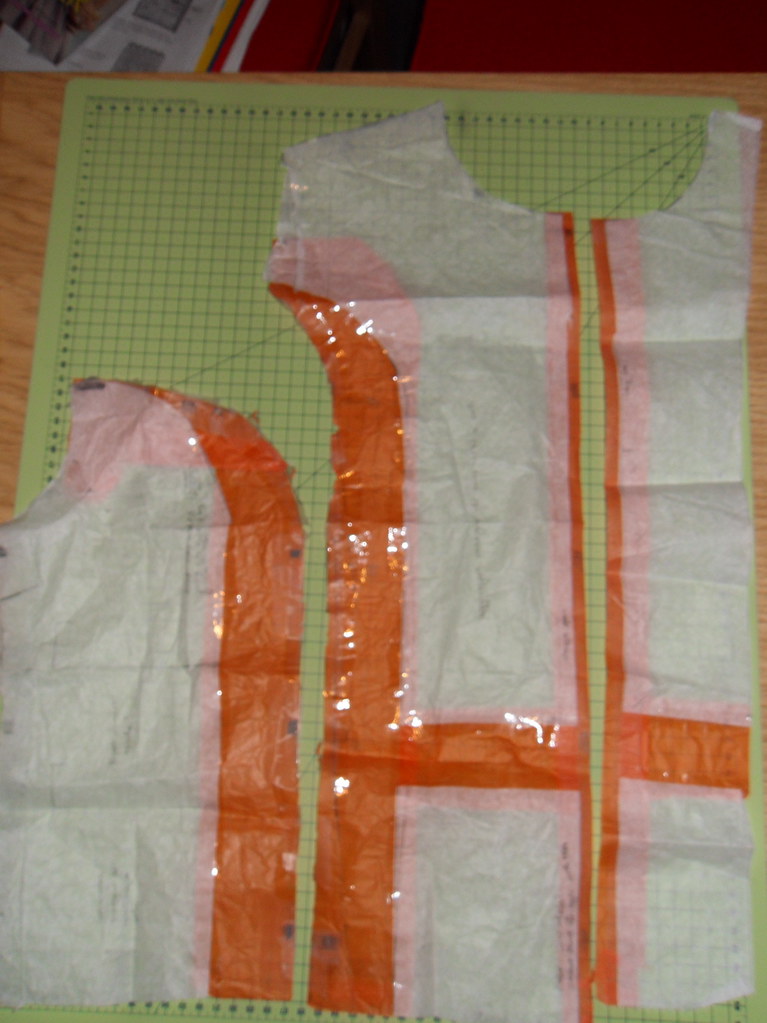
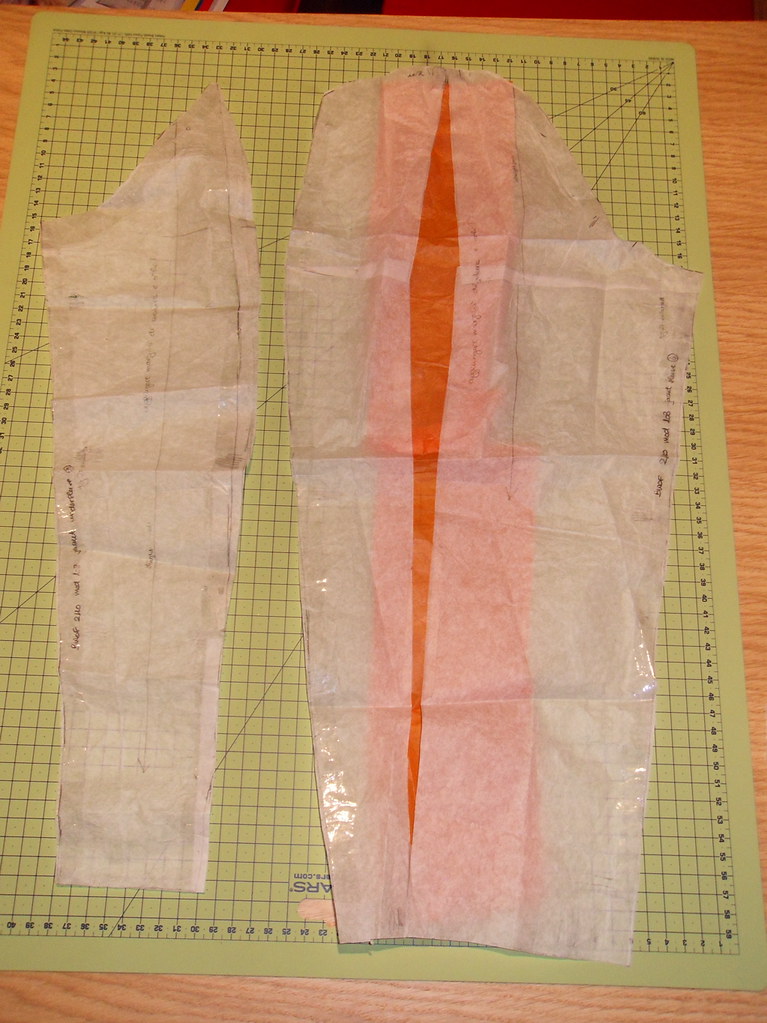
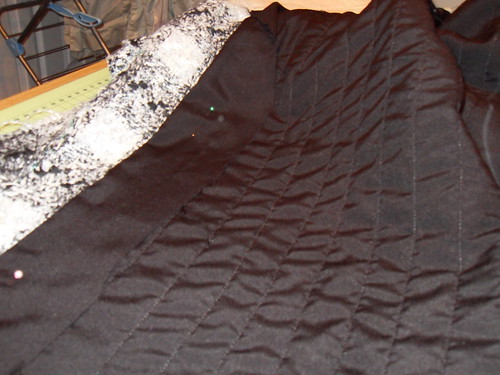
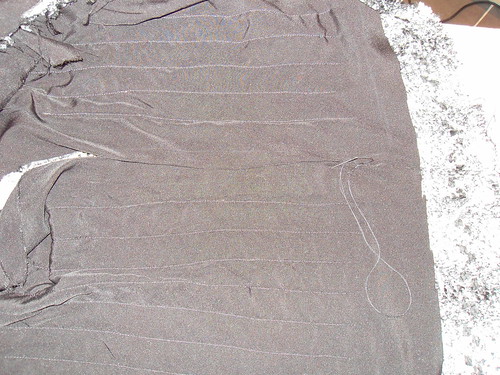
I reported the stitching lines on the fabric with basting thread and on the lining with tailor's chalk and then I cut the fabric and the lining keeping large seam allowances.
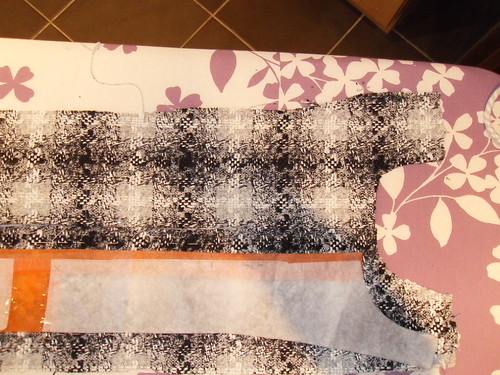
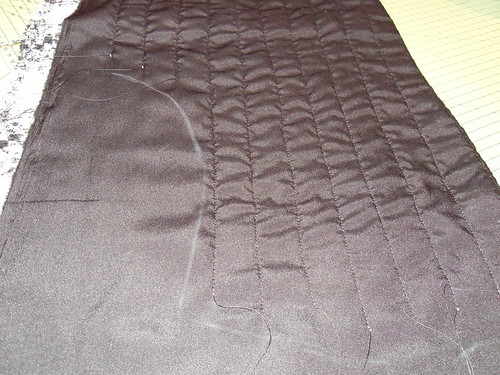
It is really important to keep the quilting lines an inch away the stitching line or it would be really challenging to sew the jacket by machine (don't ask me how I know....). To sew the pieces together, the lining seam allowances were kept away from the stitching line with pins.
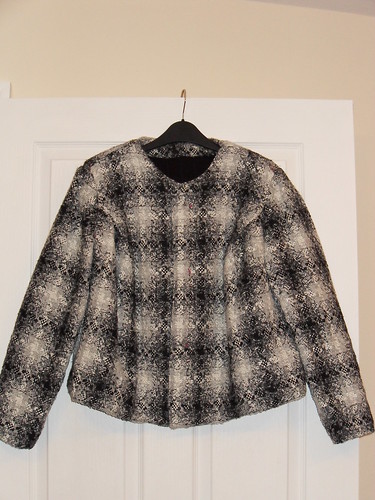
And finally the hem and the facing were hand sewn:
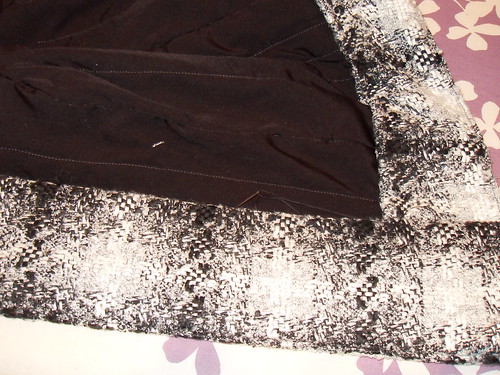 I did most of the hand stitching during a looooooong phone call.
My jacket was almost finished:

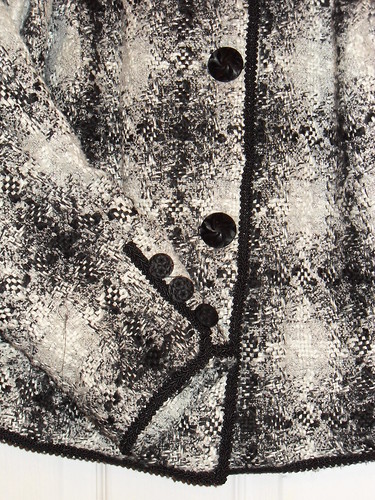
A detail of the sleeve vent, the buttons and the black braid:My jacket was almost finished:
I just had to choose buttons and braids.
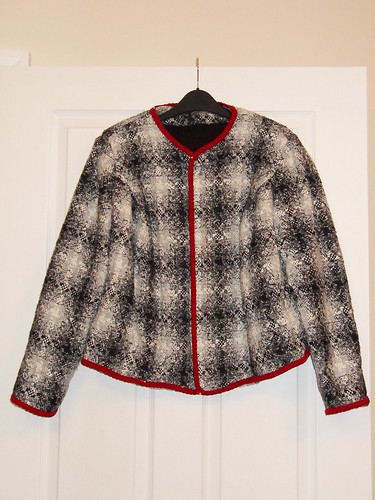
I wanted to go for contrast, and I fell in love with a red braid that I bought without thinking twice. Once at home, I pinned my lovely red braid to the jacket:
The result was not exactly the chic jacket I had in mind... so I did not stitch the braid to the jacket and kept thinking about it...
Since my husband has a kind of "Chanel eye" for buttons, I asked him to choose some buttons for my almost done new jacket. I would have chosen white pearl buttons... he came home with black buttons instead. But he was right and I finally chose a black braid to complete my jacket.
Here you are my Chanel style jacket, what do you think about it?
I love this jacket and I have been wearing it a lot during past two months!!!
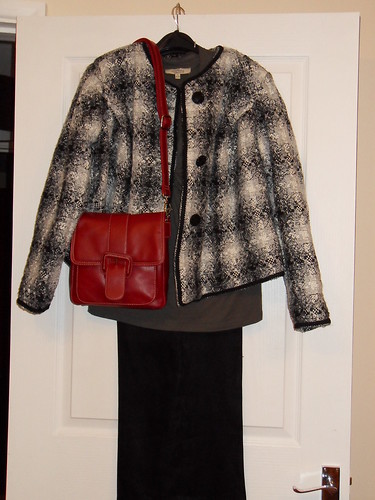
You can't see the matching red shoes in this picure...